Would you like to have your room customized but don't know where to start? A custom neon light is a great place to start! In this article, we explore the process of making custom neon lights. After learning about the craft of DIY custom neon signs, you'll be able to have your own within no time at all.
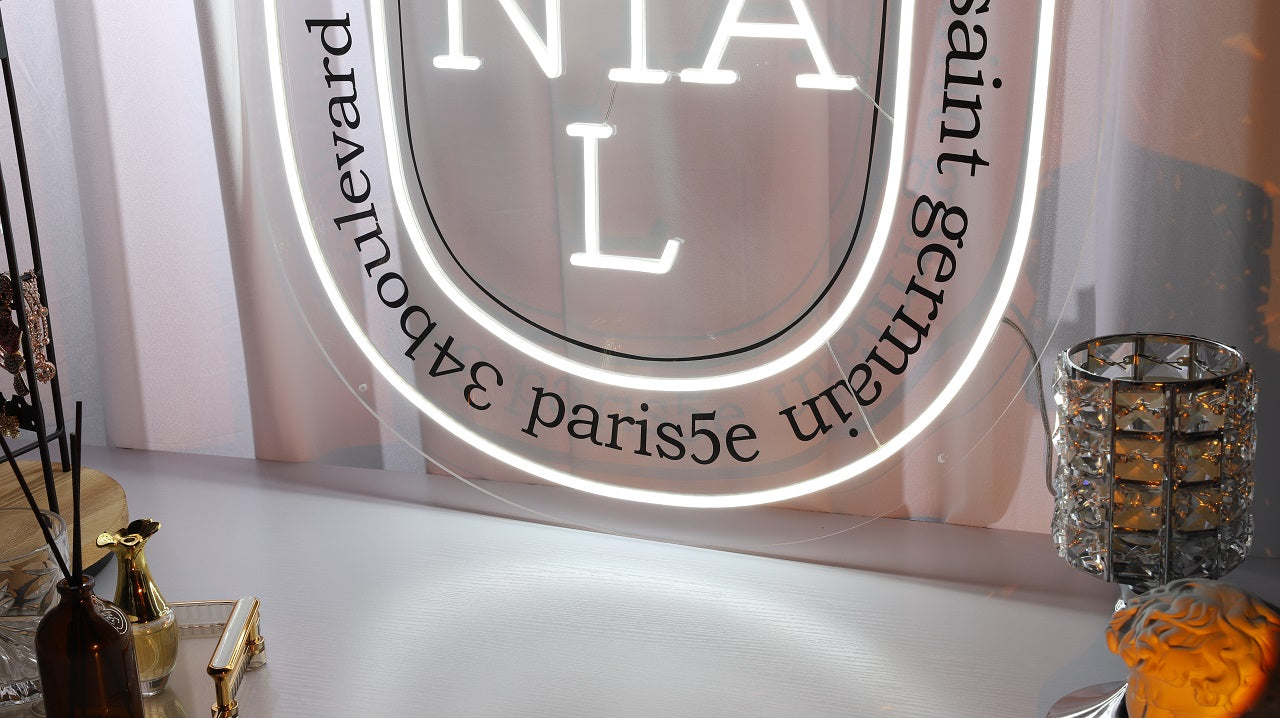
LED neon signs can be a fun and stylish way to bring more personality and character to your room. They can be hung on the wall or placed on a shelf or tabletop as decorative pieces.
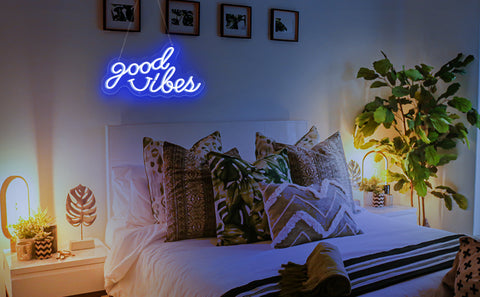
Many different types of LED neon signs are available, ranging from simple word signs to more intricate designs and patterns. Some popular options include signs that spell out words or phrases like "good vibe," "sweet home," or "Be cool," as well as signs featuring geometric shapes or abstract designs.
LED neon light signs for rooms are typically made through a process that involves the following steps:
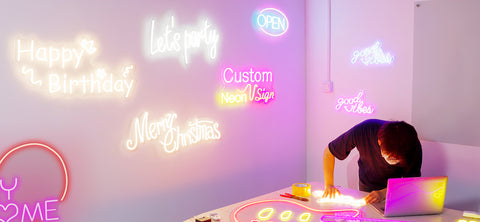
Design
The first step in the process is to create a design for the LED neon sign. This can be done using specialized software or by hand drawing.
- Determine the purpose of your LED neon sign: What do you want your sign to say or communicate? Do you want it to spell out a word or phrase, or do you want it to feature a graphic or design?
- Choose the font and color scheme you want: Decide on the font and color scheme that you want to use for your LED neon sign. Consider the overall aesthetic of the sign’s displayand choose colors and fonts that will complement the decor.
- Create a rough mockup: Use a pencil and paper, or a digital design tool, to create a rough sketch or mockup of your LED neon sign. This will help you visualize the overall layout and design of the sign. (What is amockup? A mockup is a rough, prototypical design of the neon sign. Mockups are often used in the design and development process to visualize and test the look and functionality of a product before it is fully realized.

Mockups are not intended to be final, finished products, but rather a way for our designers and developers to experiment with different ideas and explore the feasibility and functionality of a product. They can be revised and refined as needed throughout the design process.)

Designing a LED neon sign can be a challenging but rewarding process. It requires a combination of artistic and technical skills, as well as attention to detail. However, with some careful planning and execution, you can create a unique and eye-catching neon sign that will add personality and character to your space.
If you are experienced in designing, you can send the design draft to us, and we will send back a wonderful neon sign mock up according to it. If you are a green hand, just tell NeonWill your thoughts and we can help you too. The consulting service is totally free of charge.
Cutting
Once the design is complete, the next step is to cut the materials that will be used to create the sign. This typically involves cutting a clear acrylic sheet to the desired shape and size, as well as cutting a backing board to the same size.
Cutting neon tubing to the appropriate length and shape is an important step in the process of designing and constructing a LED neon sign. Here are some tips for cutting neon tubing:
Measure and mark the tubing: Before assembling the LED neon tubing, we measure and mark the appropriate length and shape using a professional marker. This will help us achieve a precise and accurate cut.
Cut the tubing using a fine-toothed saw: Use a fine-toothed saw, such as a jeweler's or a coping saw, to cut the neon tubing along the marked lines carefully.
Sand the edges of the cut: After cutting the neon tubing, use fine-grit sandpaper to smooth and round the edges of the cut. This will help prevent the tube from cracking or breaking when it is bent or manipulated.
Deburr the tubing: Use a deburring tool or a sharp knife to remove any burrs or rough edges from the neon tubing. This will help ensure that the tubing fits smoothly and securely when assembled into the final sign.
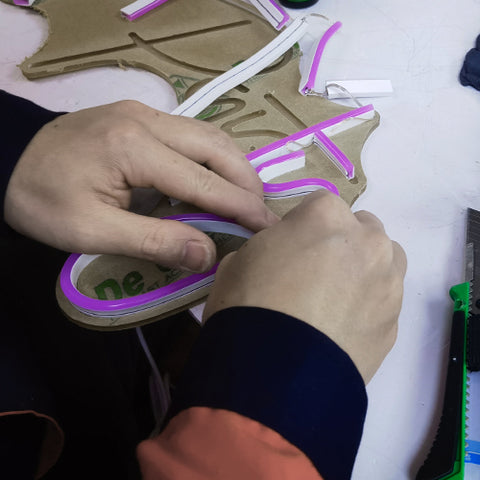
Assembling
Assembling a LED neon sign involves putting the various pieces of the sign together to create a cohesive and functional whole. Here are some steps you can follow to assemble a LED neon sign:
Attach the neon tubing to the transformer: The transformer is the electrical component that powers the LED neon sign. To attach the neon tubing to the transformer, we need to use appropriate connectors and wiring.
Assemble the neon tubing: Once the transformer and wiring are in place, it's time to assemble the neon tubing into the required shape.
Test the sign: Once the LED neon sign is assembled, we test it to make sure it is functioning properly and emitting a consistent, even glow. Make any necessary adjustments or repairs as needed.
Overall, the process of creating an LED neon light sign for a room requires a combination of artistic skill, technical expertise, and attention to detail.
After learning how to make a custom neon sign, let's see our customers share photos of custom home neon signs!
Share:
The Most Popular Personalized Neon Signs in 2023
Personalized Neon Signs:How to Make Custom Neon Signs With Shop Name?